
After a few days of 70° temperatures with 110% humidity, the weather here in Houston has finally decided to act like November. You know, kind of on the cool side. Enough that I can break out my favorite sweater (which I rock in true Colorado style with shorts and flip-flops). I’m actually headed back to the homeland next week for Thanksgiving, and I’m drooling over the upcoming gastronomical extravaganza.
I don’t know about you readers, but one of the things I love about the food at Thanksgiving is the traditional roles family members fill in making it. My mom always makes the turkey and stuffing (and quite honestly, most of the other food as well), my aunt makes the mince pie, and me, I make the pecan pie and do a lot of dishes. Although, since getting married, my wife has taken over the pecan pie making (hers is better). But since I still love to make desserts, I’m now responsible for the Wednesday night treat. Last year it was a Cranberry Shortbread Tart, and this year I’ve been tasked with making this Bourbon-Caramel Pumpkin Tart. Oh darn.
Right off the bat, I’m going to preface that this recipe is a bit involved. But it can be broken out into several stages. Also, since it needs to chill for at least 4 hours prior to service, it’s a mandatory make-ahead item. But it’s not all that difficult to make. I found the biggest pain to be the dead time with the oven. Do I shut it off? Leave it on? You don’t want the oven temp dropping too much, but I don’t want to waste electricity either. Such problems.
Step 1: The Candied Pumpkin Seeds
These are pretty easy. Also, pumpkin seeds go by the name “pepitas” if it’s easier to find them that way. I found these in the bulk dry goods section, where one finds various nuts and grains in dispensing bins. Mix the ingredients together and spread onto some parchment paper.
 It’s a little sticky, but not too much trouble. Then you bake, and they look like this:
 Once the sugar hardens, break them into small groups. I picked up the whole piece of parchment into sort of pouch, and squeezed repeatedly to break them apart. The hardest part is not eating all of them before you add them to the tart. These can be stored in an air-tight container up to 24 hours ahead of time.
Step 2: The Crust
The crust is made in the food processor, which is a lot easier than cutting the butter in by hand. It’s the standard “pulse until resembles coarse meal” deal, and I forgot to take pictures. But after you put it together, you chill it for 30 minutes before rolling it out. It’s been awhile since I’ve rolled out pastry dough, and I didn’t do a great job at it. Even though this recipe doesn’t call for it, I’d recommend you roll it out on wax paper/parchment paper/plastic wrap. If you are the dough fu master and can roll it out on the “lightly floured surface” they call for, and can lift it into the pan, my hat is off to you. Mine tore asunder. But no one was looking (save for the dog), so I just patched it together. I think it made the crust a bit tough, but that’s why one practices, right?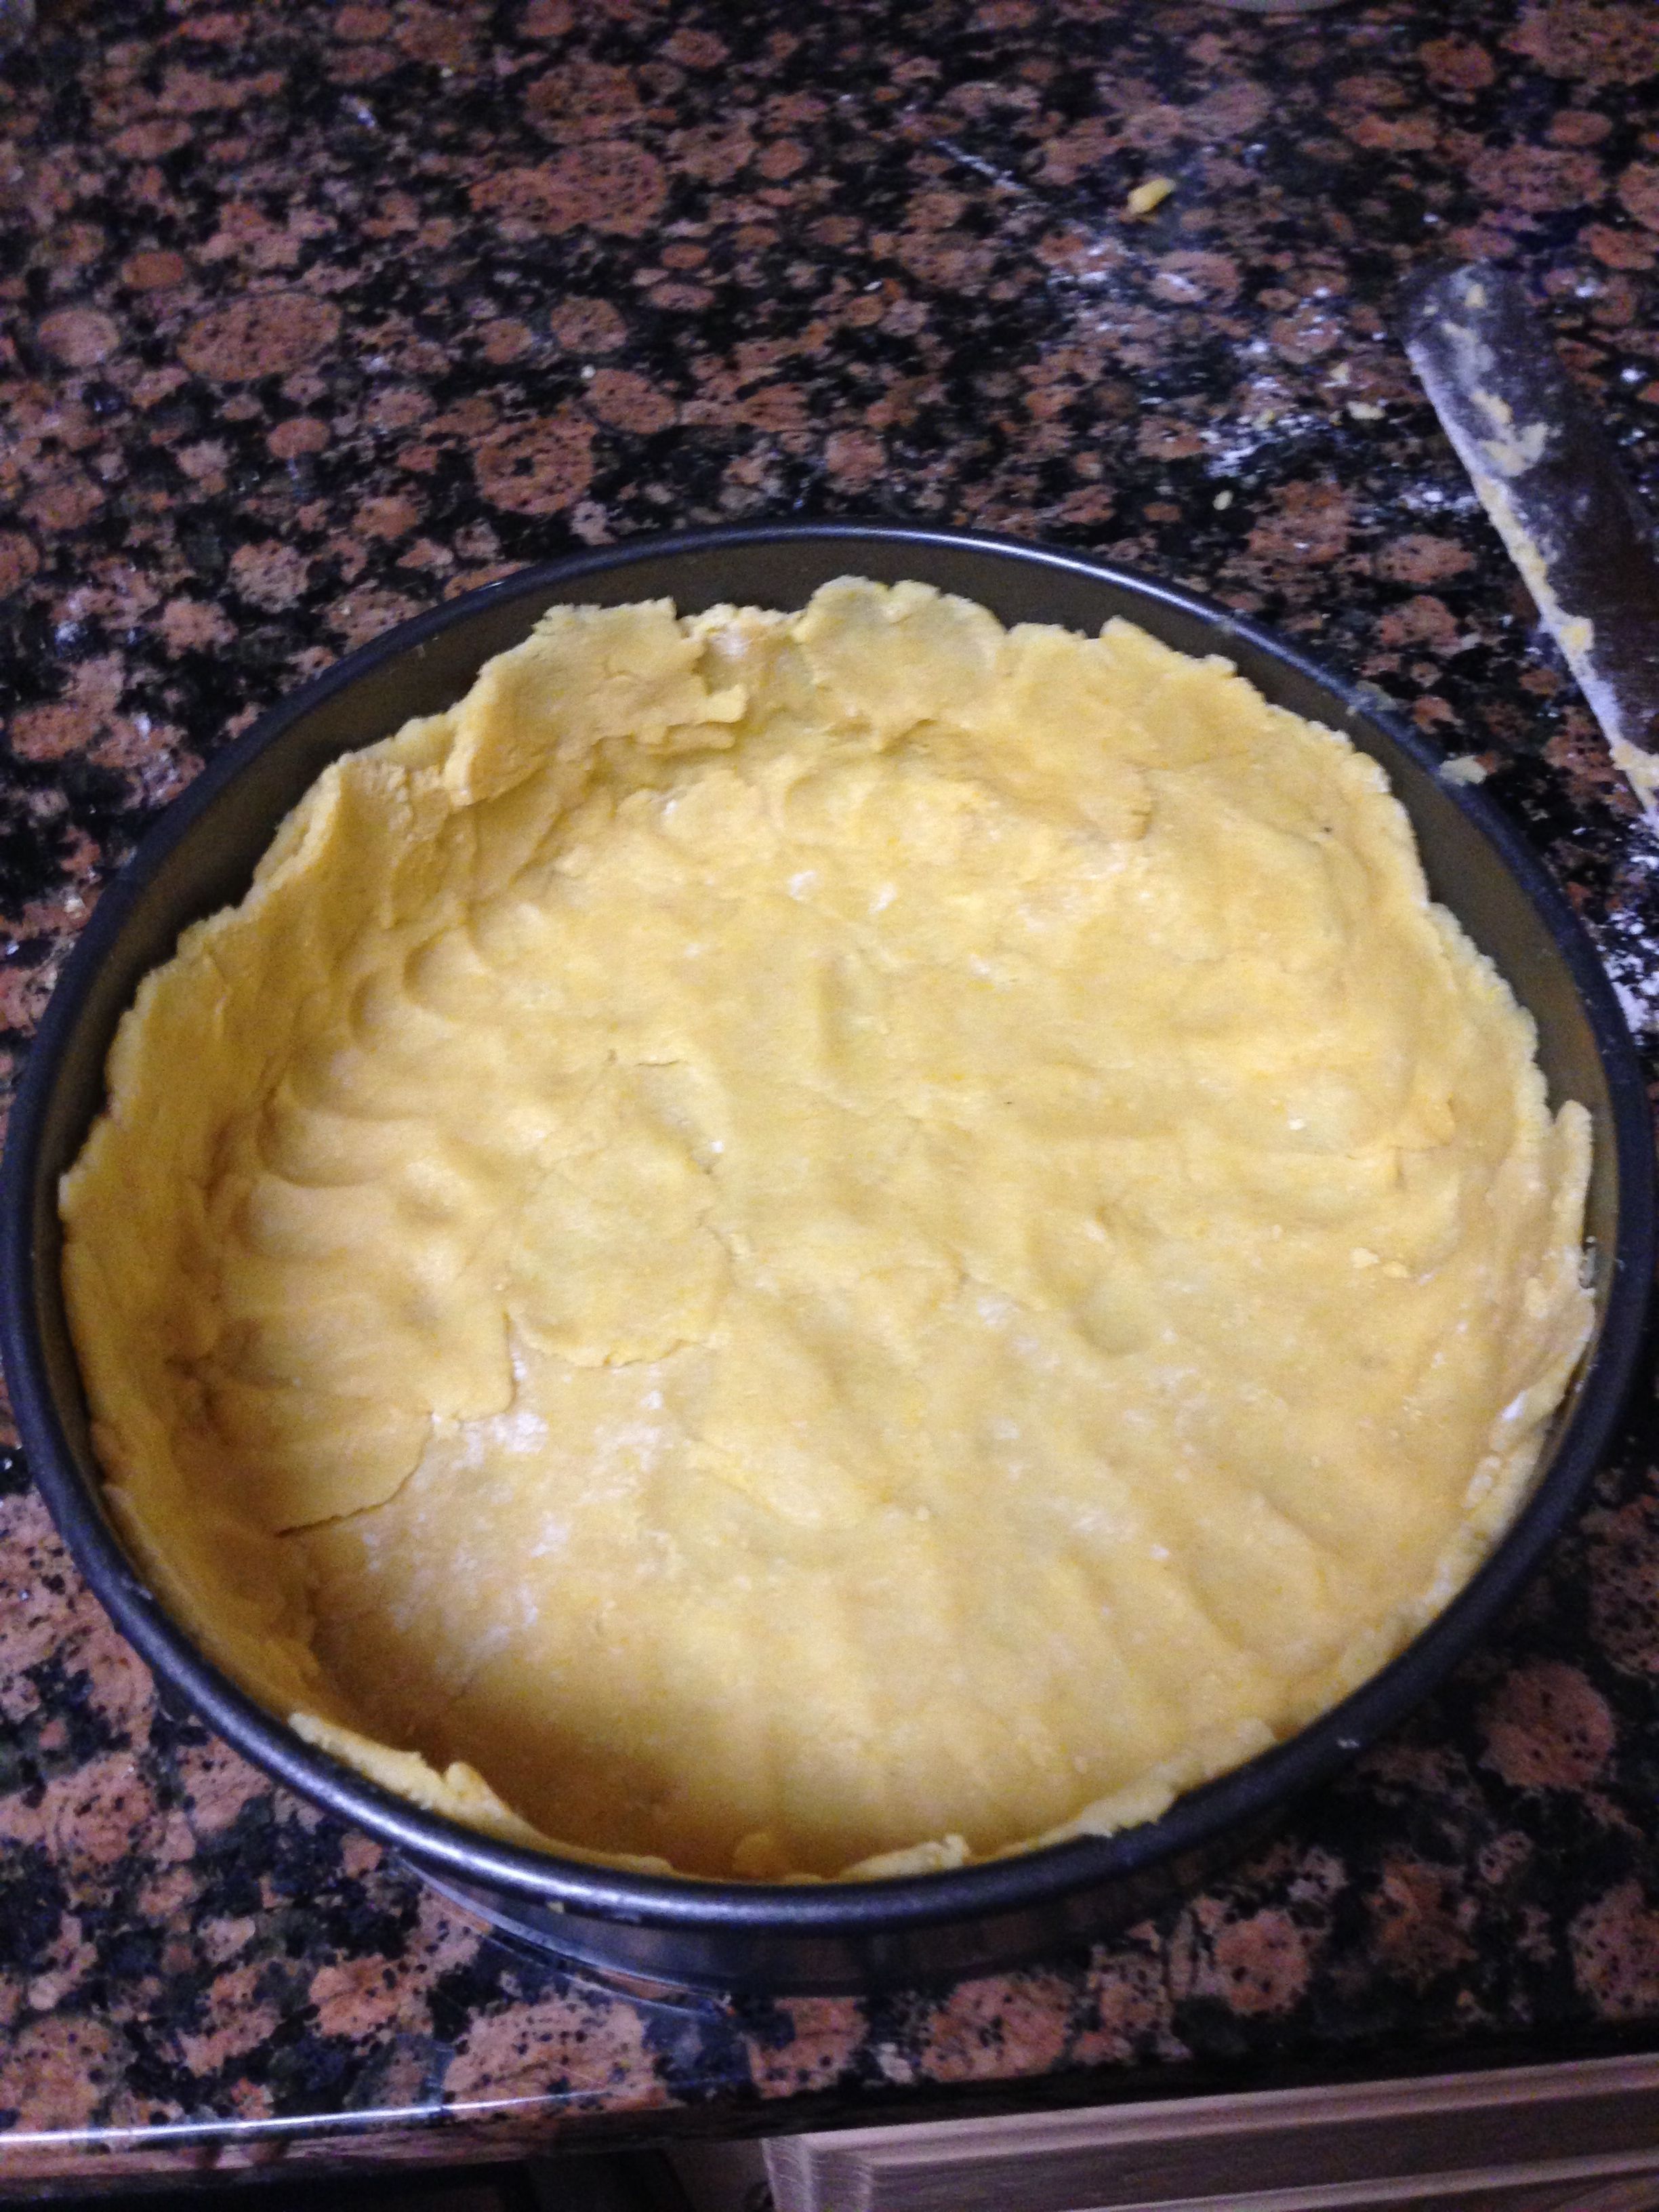 And after baking:
Make sure you dock the crust so it doesn’t puff up too much.
Step 3: The Caramel
Let’s take a look at the ingredients: Butter, brown sugar, bourbon and cream. What’s not to love? You melt the butter and sugar, add the cream, and then add the bourbon. It took longer to make than the recipe called for, but that might also be the stove. Next time, I would cook it a bit longer, both to get a bit darker color like the recipe showed, and to get a bit better final consistency. Even after time in the fridge, it was a little soft. Remember that caramel can be a little tricky. You don’t want the sugar to burn, but if you overmix, you can end up with a hard, crystalline mess.
I got about a cup of a caramel, and spread about 1/3 of that into the cooled crust: I found the easiest thing to do was to use a combination of spatula and tilting the pan.
Step 4: The Filling
Any filling that starts with cream cheese is ok in my book. You mix it all together with the paddle attachment and pour into the crust:
 Then bake until firm and no longer “wet” looking. It will still jiggle a bit when you shake the pan.
Step 5: Assembly
Phew, hang in there folks, almost there. Once the filling cools for about an hour, you can assemble the final product. If needed, heat the caramel in 20 second bursts in the microwave to make it pourable. Top the filling, and add the pumpkin seeds (if you have any left). And as much as you want it RIGHT NOW, you need to put it back in the fridge for 4-24 hours. It’ll be worth it.
 Just look at that! It’s definitely a bit different from your average pumpkin pie (not that there’s anything wrong with pumpkin pie). It’s creamy, rich, and the pumpkin seeds add a nice crunch. Next time, I would cook the caramel a bit longer, and roll out the crust on something that would allow easier transfer to the pan, but as far a flavor is concerned, it’s a keeper.
Happy Thanksgiving!
