
The weather here in Houston has been stubbornly refusing to recognize that as it is now mid-October, it is time for the temperatures and humidity to come down to more humane levels. Nope. Nothing like 94% humidity and a heat index of 89 for the 5 am WOD. Blech. We’ve had a day here and there that have hinted that the weather COULD be really nice, but nothing consistent. But cool weather is a great excuse to break open some recipes ignored since back in March, and I can’t takes it no more! So with no further ado, here’s my recipe for Beef Bourguignon.
The recipe is originally from “Colorado Collage”, and while it may look like a big production, it’s really not that much work when you get down to it.
 Ingredients
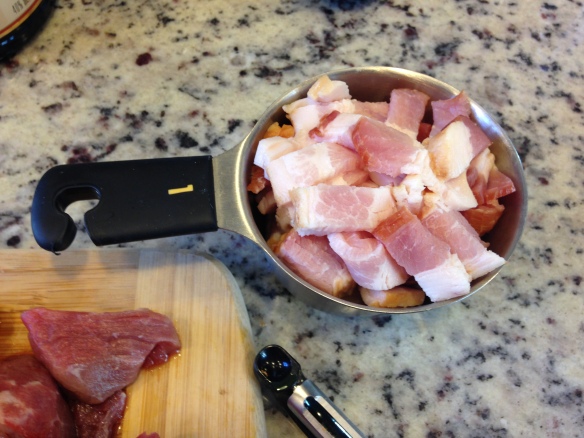
- 6 slices Thick Cut Bacon (1 cup chopped)
- 3 lbs Boneless Beef Chuck Roast (or similar stew meat)
- 1 tbsp Salt
- 1/2 tbsp Black Pepper
- 2 tbsp AP Flour (or Arrowroot if you’re being paleo)
- 3 cups Sliced Onions
- 6 medium, Carrots
- 3 cups Red Wine (something with some weight, like a merlot or cab)
- 2.0 cups Beef Stock
- 1 tbsp Tomato Paste
- 1 Bay Leaf
- 1/2 tsp Thyme
- 1 package Frozen Pearl Onions
- 1/2 cup Cognac
I’ll break it down step by step, but essentially you’re going to render the fat from the bacon, brown the meat in said fat, saute the vegetables, light them on fire (!), and then braise it all for a few hours. Sound like fun?
- Chop the bacon and cut the beef into 2 in cubes. Note: I like to do most (if not all) of my prep work before I start cooking. I think it lets me relax a bit and enjoy the cooking. But there’s plenty of time in this recipe if you’re the type who likes to prep the next steps while cooking.
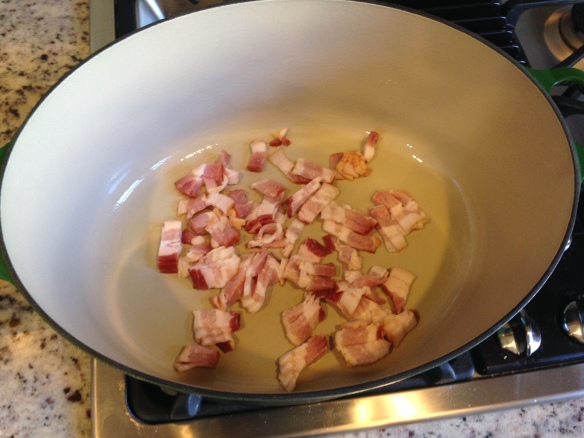
- In a large dutch oven, fry the bacon over medium heat.
- While the bacon cooks, put the flour, salt and pepper into a large ziplock bag. Add the beef and shake to coat. It helps to blot the surface of the beef before doing so.
- Remove the bacon from the pan, and get ready for the most labor intensive part of the meal.
 Also, I’d recommend having someone hide the bacon in a safe place. I end up eating about half of it before it can make it to the finished product.
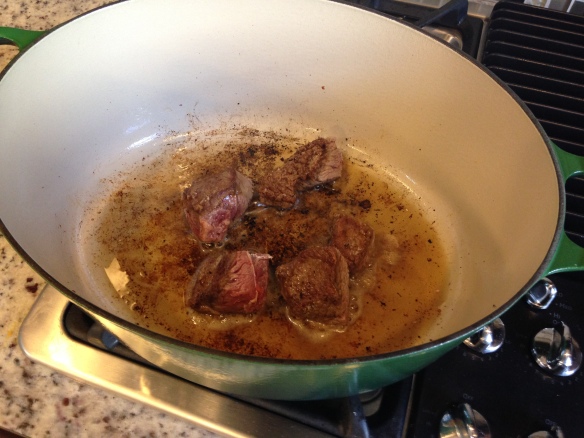
 - In 3-4 batches, brown the meat on all sides in the bacon grease. If you run low on cooking fat, you can add your fat of choice. It’s important at this stage to manage the heat and DO NOT CROWD THE PAN. Crowding the pan will suck all the heat out of the pan, and you’ll end up with excess moisture that will make it hard to brown the meat nicely. Take your time with this step, and don’t worry if you see a bunch of brown accumulating on the bottom (what the French call “fond”). But watch out for black crud. Black crud means something is burning: back off the heat.
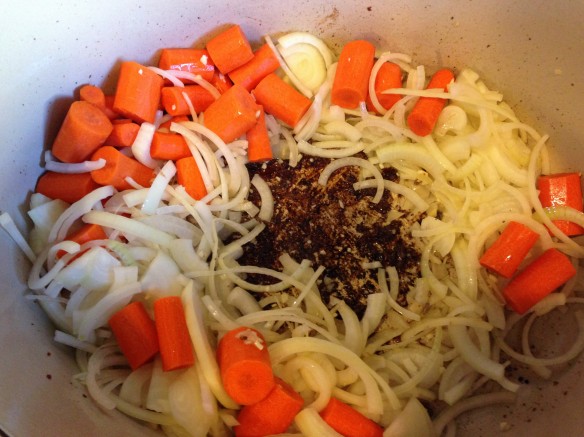
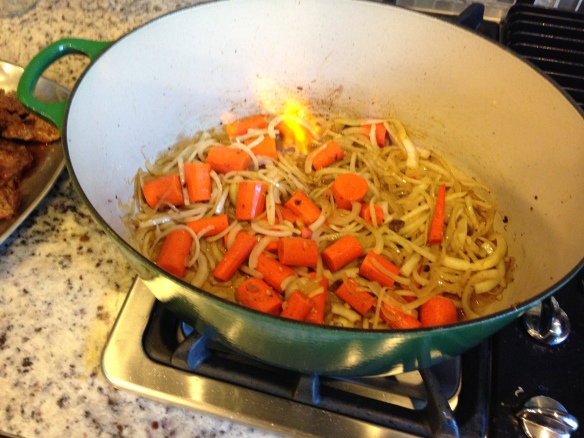
- With all your meat safely evacuated from the pan, add the onions and carrots. As they cook down, they’ll release steam that will soften the fond. Use a wooden spoon (or other stiff cooking utensil) to scrape off as much of this as you can. This is going to add a ton of flavor. Continue cooking until the vegetables are golden brown. This is a good time to pre-heat the oven to 350 F.
- When they are golden brown, it’s time for what might be the scariest step: flambe! NOTE: THE FLAMBE PROCEDURE COMES WITH INHERENT RISK. IT CAN BE PERFORMED SAFELY WITH SOME SIMPLE PRECAUTIONS. IF YOU ARE UNCOMFORTABLE WITH THIS STEP, SKIP IT. I TAKE NO RESPONSIBILITY FOR YOUR ACTIONS.
Now that I have (hopefully) covered my ass, let’s talk flambe prep. If you can find them, I’d recommend you watch the Shrimp and Grits and/or Bananas Foster episodes of Alton Brown’s Good Eats. Not only is it a great show, but it covers a lot of the basics.- First and foremost, be careful, and don’t be an idiot.
- Second, have a fire extinguisher nearby (accidents DO happen, and you should have one in the kitchen anyway).
- Have the lid to your cooking vessel readily available. Should the flames become uncomfortably high, slap that lid on to smother the flame. DO NOT TRY AND PUT WATER ON THE FLAMES.
- Add the liquor OFF THE HEAT. No open flame from the stove.
- Use a flame stick or a long match to ignite.
- Here is what’s going to happen: the alcohol has a lower boiling temperature than the water in the cognac, so when it hits the hot pan, it will evaporate before the water. This vapor is what is flaming. This also means that the hotter the pan, and the longer you wait to ignite, the more alcohol is in the air, and the bigger the flames will go. I recommend pouring and then immediately igniting. Then you can bring the heat back on, and control the rate of evaporation by adjusting the heat.
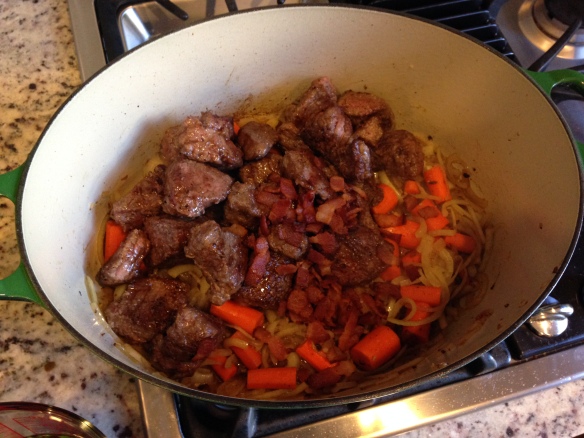
- Once the flames are out, add in all the remaining ingredients. Don’t forget the beef cubes and the bacon.
 A couple of notes:
If you really want to, you can peel (or parboil and then peel) a bunch of pearl onions to add to the recipe. I’ve done this, and quite frankly, I don’t think it’s worth the effort. Grab a bag of frozen pre-peeled onions and save yourself the hassle.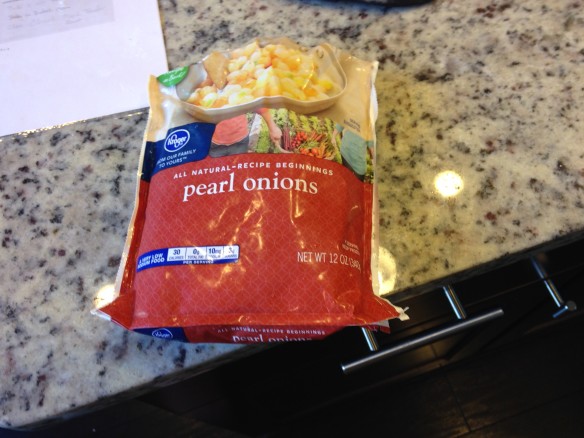 For tomato paste, I heartily recommend the Amore brand. It comes in a tube like toothpaste, and is easily resealable. Since most recipes only call for 1-2 tablespoons of tomato paste, it’s nice not to have to waste a whole can each time. Now if the kind people at Amore, would kindly send me a nice check for promoting them, we can continue…
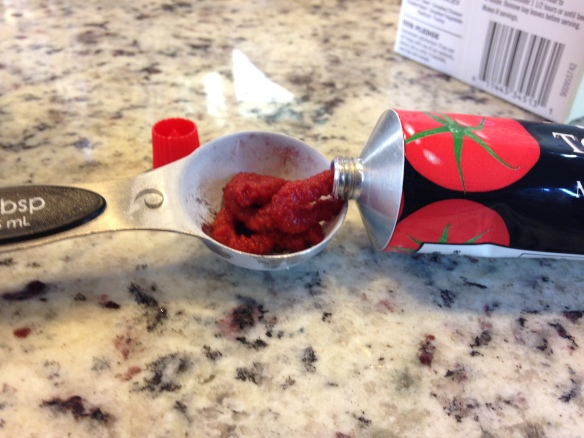
- Mix thoroughly and bring everything to a simmer. You’ve added quite a bit of liquid, so go ahead and turn the heat up to high.
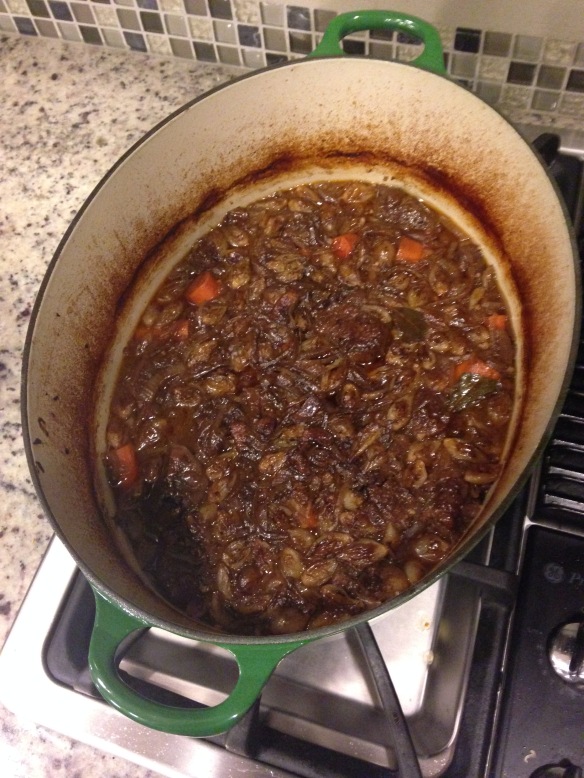
- Once it’s at a simmer, turn off the heat, cover, and move to the oven for 2 1/2-3 hours. You’ll know because the meat will be very tender, and will part easily with a fork.
- I’d serve this over wide egg noodles, but any hearty starch would accompany well.
- This is awesome (I might even say better) if you make it ahead of time. Put it in the fridge and re-heat gently on the stove (you can skim some of the excess fat if you desire before re-heating). It also freezes very well, so if you’re headed up for a weekend of skiing, make it a few weeks ahead of time, and you can re-heat straight from the frozen state.


This is a real family favorite, and I hope you give it a shot! Here’s to hoping cooler weather (and more cold weather food) is on the way. Cheers.

