100 Pushups – Week 1

Sorry to scare all the millions of followers of this blog, but rest assured, I am not dead!  Just busy/life getting in the way.  But I’m going to try and do a better job at keeping up with this.

So after watching the 2015 Crossfit Games, I’m forced to admit that I am never going to be capable of the ridiculous feats that I witnessed.  But I CAN try to get myself in a better position to tackle the workouts at Paper Street.  I haven’t set the lead score/time on a WOD since the 2 km row coach Michael made us do after 15.5.

I’d really like to focus on getting my pushups and pullups better.  While I managed to get a few muscle ups a few months ago, I seem to have lost it.  I think I need to focus first on my overall pulling strength before I take another crack at it.  Not only should that make it easier, but it should also make it less likely that I hurt myself.  Unfortunately, I do not have a pullup bar in my cubicle (it’s a shame).  But I do have a relaxed enough work environment where people don’t mind too much if I drop down to knock out a set of pushups.

I’ve never liked pushups.  Never.  I’ve never had an overabundance of upper body strength, so doing pushups has always been a bit hard.  I can do them, but they never look effortless.  So my plan is to aim for 100 each workday.  To start, I’m going with 10×10, but if I can get that down for a couple weeks, maybe I can push it to 10×15 or even 10×20.  If I can get to the point where I am doing a “Murph’s” worth of pushups 5 days a week, it’s got to help, right?

Weather be damned, I’m ready for cold weather food: Beef Bourguignon

The weather here in Houston has been stubbornly refusing to recognize that as it is now mid-October, it is time for the temperatures and humidity to come down to more humane levels.  Nope.  Nothing like 94% humidity and a heat index of 89 for the 5 am WOD.  Blech.  We’ve had a day here and there that have hinted that the weather COULD be really nice, but nothing consistent.  But cool weather is a great excuse to break open some recipes ignored since back in March, and I can’t takes it no more!  So with no further ado, here’s my recipe for Beef Bourguignon.

The recipe is originally from “Colorado Collage”, and while it may look like a big production, it’s really not that much work when you get down to it.

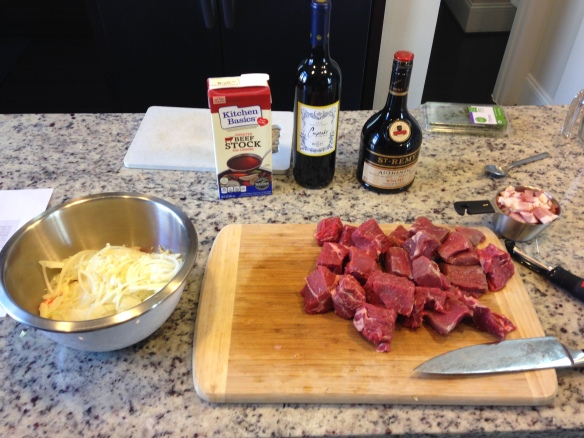
2014-10-10 16.08.06Ingredients

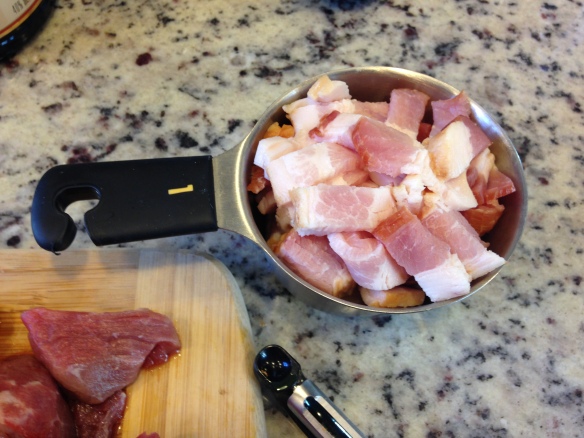
  • 6 slices Thick Cut Bacon (1 cup chopped)
  • 3 lbs Boneless Beef Chuck Roast (or similar stew meat)
  • 1 tbsp Salt
  • 1/2 tbsp Black Pepper
  • 2 tbsp AP Flour (or Arrowroot if you’re being paleo)
  • 3 cups Sliced Onions
  • 6 medium, Carrots
  • 3 cups Red Wine (something with some weight, like a merlot or cab)
  • 2.0 cups Beef Stock
  • 1 tbsp Tomato Paste
  • 1 Bay Leaf
  • 1/2 tsp Thyme
  • 1 package Frozen Pearl Onions
  • 1/2 cup Cognac

I’ll break it down step by step, but essentially you’re going to render the fat from the bacon, brown the meat in said fat, saute the vegetables, light them on fire (!), and then braise it all for a few hours.  Sound like fun?

  1. Chop the bacon and cut the beef into 2 in cubes.  Note: I like to do most (if not all) of my prep work before I start cooking.  I think it lets me relax a bit and enjoy the cooking.  But there’s plenty of time in this recipe if you’re the type who likes to prep the next steps while cooking.2014-10-10 16.08.15
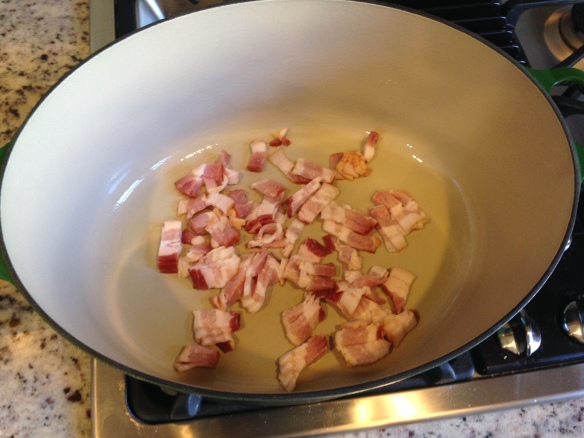
  2. In a large dutch oven, fry the bacon over medium heat.2014-10-10 16.10.49
  3. While the bacon cooks, put the flour, salt and pepper into a large ziplock bag.  Add the beef and shake to coat.  It helps to blot the surface of the beef before doing so.
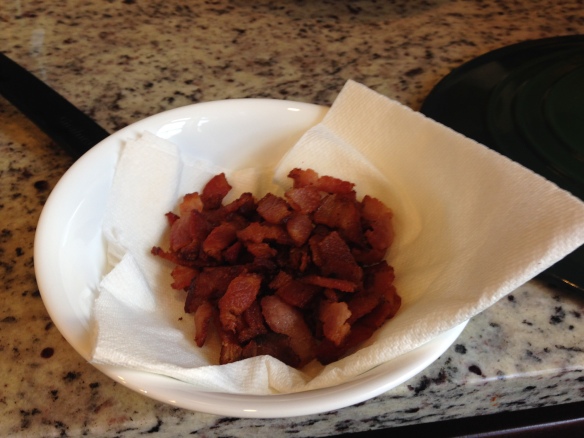
  4. Remove the bacon from the pan, and get ready for the most labor intensive part of the meal.2014-10-10 16.29.28Also, I’d recommend having someone hide the bacon in a safe place.  I end up eating about half of it before it can make it to the finished product.
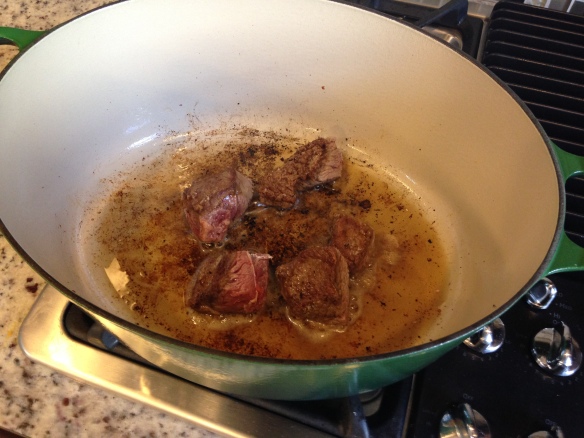
  5. In 3-4 batches, brown the meat on all sides in the bacon grease.  If you run low on cooking fat, you can add your fat of choice.  It’s important at this stage to manage the heat and DO NOT CROWD THE PAN.  Crowding the pan will suck all the heat out of the pan, and you’ll end up with excess moisture that will make it hard to brown the meat nicely.  Take your time with this step, and don’t worry if you see a bunch of brown accumulating on the bottom (what the French call “fond”).  But watch out for black crud.  Black crud means something is burning: back off the heat.2014-10-10 16.29.33
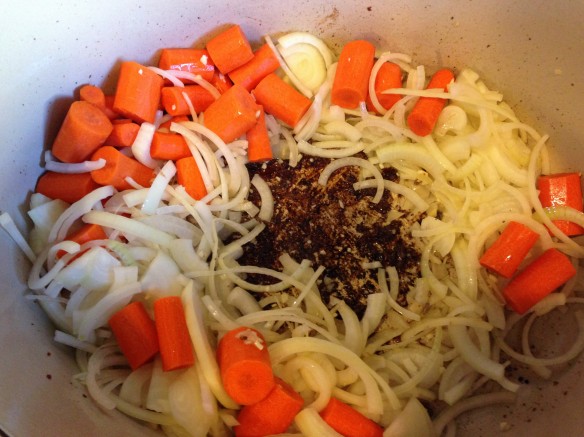
  6. With all your meat safely evacuated from the pan, add the onions and carrots.  As they cook down, they’ll release steam that will soften the fond.  Use a wooden spoon (or other stiff cooking utensil) to scrape off as much of this as you can.  This is going to add a ton of flavor.  Continue cooking until the vegetables are golden brown.  This is a good time to pre-heat the oven to 350 F.2014-10-10 16.57.20
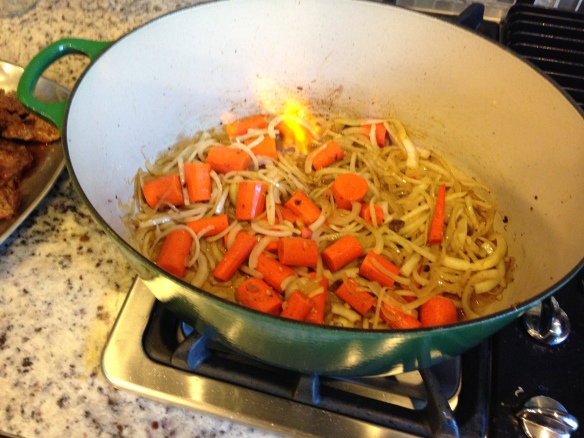
  7. When they are golden brown, it’s time for what might be the scariest step: flambe!  NOTE: THE FLAMBE PROCEDURE COMES WITH INHERENT RISK.  IT CAN BE PERFORMED SAFELY WITH SOME SIMPLE PRECAUTIONS.  IF YOU ARE UNCOMFORTABLE WITH THIS STEP, SKIP IT.  I TAKE NO RESPONSIBILITY FOR YOUR ACTIONS.
    Now that I have (hopefully) covered my ass, let’s talk flambe prep.  If you can find them, I’d recommend you watch the Shrimp and Grits and/or Bananas Foster episodes of Alton Brown’s Good Eats.  Not only is it a great show, but it covers a lot of the basics.

    1. First and foremost, be careful, and don’t be an idiot.
    2. Second, have a fire extinguisher nearby (accidents DO happen, and you should have one in the kitchen anyway).
    3. Have the lid to your cooking vessel readily available.  Should the flames become uncomfortably high, slap that lid on to smother the flame.  DO NOT TRY AND PUT WATER ON THE FLAMES.
    4. Add the liquor OFF THE HEAT.  No open flame from the stove.
    5. Use a flame stick or a long match to ignite.
  8. Here is what’s going to happen: the alcohol has a lower boiling temperature than the water in the cognac, so when it hits the hot pan, it will evaporate before the water.  This vapor is what is flaming.  This also means that the hotter the pan, and the longer you wait to ignite, the more alcohol is in the air, and the bigger the flames will go.  I recommend pouring and then immediately igniting.  Then you can bring the heat back on, and control the rate of evaporation by adjusting the heat.2014-10-10 17.02.29
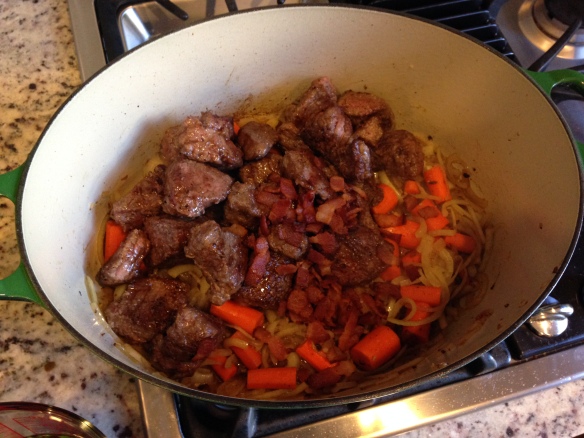
  9. Once the flames are out, add in all the remaining ingredients.  Don’t forget the beef cubes and the bacon.2014-10-10 17.05.35A couple of notes:
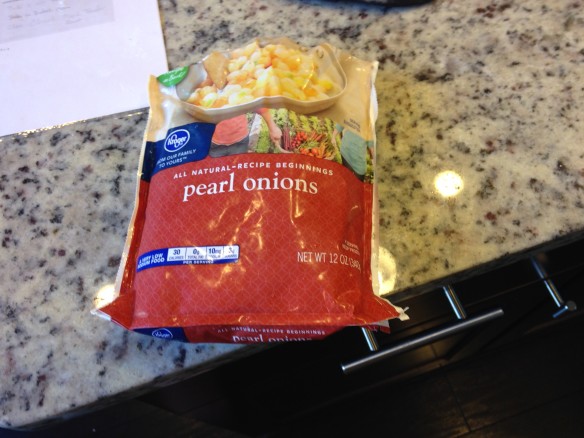
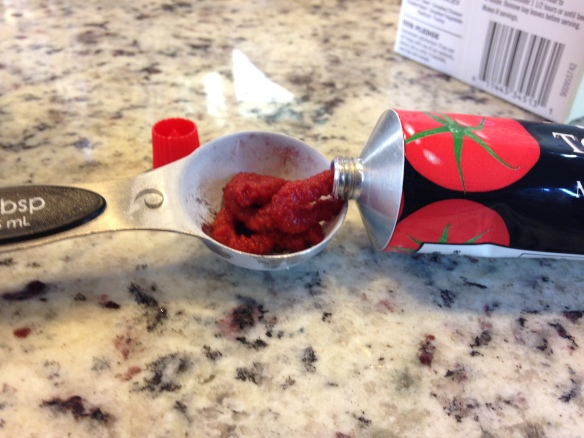
    If you really want to, you can peel (or parboil and then peel) a bunch of pearl onions to add to the recipe.  I’ve done this, and quite frankly, I don’t think it’s worth the effort.  Grab a bag of frozen pre-peeled onions and save yourself the hassle. 2014-10-10 17.08.55For tomato paste, I heartily recommend the Amore brand.  It comes in a tube like toothpaste, and is easily resealable.  Since most recipes only call for 1-2 tablespoons of tomato paste, it’s nice not to have to waste a whole can each time.  Now if the kind people at Amore, would kindly send me a nice check for promoting them, we can continue…2014-10-10 16.21.13
  10. Mix thoroughly and bring everything to a simmer.  You’ve added quite a bit of liquid, so go ahead and turn the heat up to high.
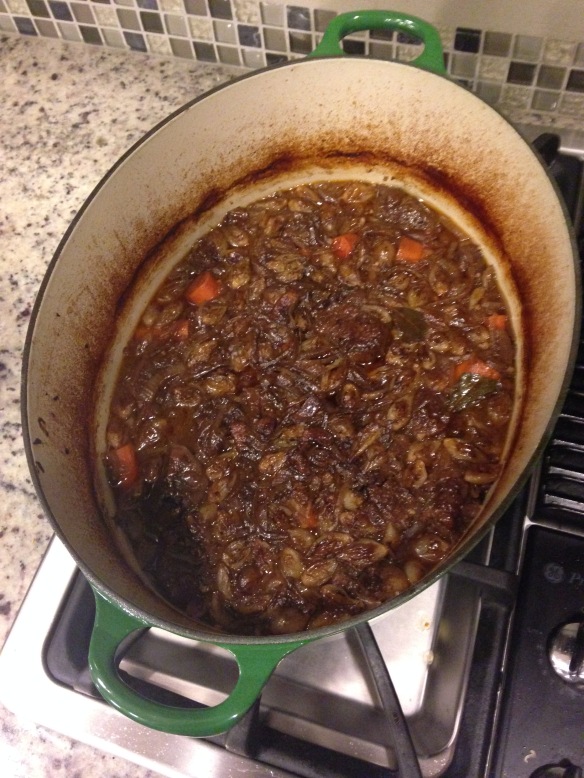
  11. Once it’s at a simmer, turn off the heat, cover, and move to the oven for 2 1/2-3 hours.  You’ll know because the meat will be very tender, and will part easily with a fork.2014-10-10 19.59.23
  12. I’d serve this over wide egg noodles, but any hearty starch would accompany well.
  13. This is awesome (I might even say better) if you make it ahead of time.  Put it in the fridge and re-heat gently on the stove (you can skim some of the excess fat if you desire before re-heating).  It also freezes very well, so if you’re headed up for a weekend of skiing, make it a few weeks ahead of time, and you can re-heat straight from the frozen state.

This is a real family favorite, and I hope you give it a shot!  Here’s to hoping cooler weather (and more cold weather food) is on the way.  Cheers.

Here we go again…

Digital_Artwork_Neanderthal_Caveman_Fast_Food_Graffiti_Banksy_76094_detail_thumb

Hi folks,

Do you remember back in March when I did a Paleo Challenge with my gym?  Well, I’m doing a new one with my new gym.  Because I’m stupid like that.  Also, they made it all official-like, with pre- and post-challenge measurements and benchmarks.  What can I say?  I’m a sucker for that measurable data.

Also, I really needed something to get me to eat better.  As usual, it’s not that my diet was inherently bad (I wasn’t living off Whataburger and Dunkin Doughnuts or anything), but that I was just being sloppy.  The admin at work had a giant jar of peanut butter filled pretzels, and hey, what’s four or five of those 6 or 7 times a day?  Probably around 500 calories.  When it comes to limiting snacks like that, my ability to refuse is very much all or nothing.  Either I’m going to eat as much of that crap as I want, or I’m not going to eat any of it.  But it’s really more fun to eat ALL the bad things.

I also figured that as long as I’m going to do this challenge, I might as well take advantage of it and get as much data as I can.  So I went and got a BodPod reading to measure my body composition.  I started the challenge at 221.3 lbs and 19.7% body fat. And for the benchmark WOD (see below), I got 2 rounds + 15 push-ups.

Paper Street Crossfit Paleo Challenge Benchmark WOD
20 minute AMRAP
400 m run
40 air squats
30 ab-mat sit-ups
20 push-ups
10 pull-ups

Got to love the air-squat/running combination.  Also, let me take this time to re-iterate how much I hate push-ups.

This challenge has been set up pretty thoroughly, with points earned for healthy eating, sleep, water consumed, supplements (provided by PurePharma), daily WOD plus a few extras.  For example, there is a weekly “Skill WOD” which can earn you an extra point.  Last week it was 50 burpees in less than 5 minutes (barf) and this week it was 2000 m row in less than 9 minutes (+2 if under 8).

Out of all of these, the sleep has been the hardest.  We go to the 5 am class, so we get up around 4:35, meaning that we have an 8:35 pm bedtime.  It’s really fun explaining that to your friends.  On the other hand, it’s been awesome actually getting enough sleep.  I don’t feel nearly as desperate on the weekend to log a few extra hours.

I look forward to seeing the results, and hopefully I will post a few good workouts or recipes here before it’s over.  Until next time.

All 5k’s Should Be Sponsored by Breweries

So it’s been quite awhile since I ran a race of any kind.  Despite the competitive nature of Crossfit workouts, a dedicated race always seems to make me try a little harder, particularly when it’s a run.

I’ve been having trouble recently pushing myself on runs.  I’m not sure if it’s because last time I tried to ramp up my running, I hurt myself, or because I usually use the run portion of WODs to recover from the other exercises, or just because I’m lazy, but it’s been hard to do anything more than a pretty relaxed 3 mile run when I hit the streets.

But a race can change all that.  My last 3 runs before the race, I was averaging a 9:28 mile.  And no, this was not part of any designed taper.  This past Saturday at the Rahr and Sons Oktoberfest 5k?  7:48.  Yes, I’m sure that nicer weather had something to do with it, but I’m positive it was more the attitude that surrounds a race.  There’s always someone to chase down.  Always footsteps behind you (I HATE that).  And always some 80 year old who cruises by you like you’re standing still.  I’d honestly forgotten that feeling, but I am going to try to run some more races to keep that motivation.  My hope is that before I turn 30, I finish a 5k running a sub 7 minute mile.

And can I add that beer makes an AMAZING recovery drink.  Seriously.  It’s cold, refreshing, and I’m sure there’s some science to justify it as a carbohydrate replenishment in the same light as Gatorade.  And it tastes really good.  The only problem is when they give you 3 x 16 oz beers, and start the race at 9 am.  Given that I don’t eat a lot before a run, I had three beers on a mostly empty stomach after a run before 11 am.  Glad I wasn’t driving.  But as long as you’ve got someone to safely get you home, it makes a great incentive to bust your ass to the finish!

So get out there and race!

Do you DU?

Hello folks,

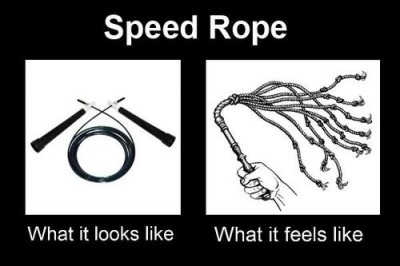
Today I’d like to talk to you about double unders.  I hate them.  I’m not good at them.  And as punishment for not being good at them, they cause me to whip myself.  But as they seem to be a staple of many a WOD, I am trying to get better at them.

Double-Under-Whip

My goal to get better was to 100 double unders Monday through Friday after work.  That hasn’t worked out well.  There was a trip to NC in there, and then I got sick, and also it reminded me of why I go to 5 am classes: I can find excuses not to workout in the afternoon.  There are always tasks to be done and errands to run.  At 5 am, there’s only the siren song of sleep, which while seductive, is overcome by the anger I would feel at wasting a paid-for class.

Anyway, back to double unders.  I find that I can do A (as in singular) double under without too much of a problem.  It’s the linking where I lose it.  I think my problem (other than lack of skill) is that as I try to increase my hand speed to get the two passes, I also start to jump faster, giving me less time to do the double under.  So what I’m doing is working on doing single-double-single.  It keeps my jump speed down, while still working on linked (more-or-less) double unders.  I’m hoping that eventually I’ll be able to drop the singles but keep the jump cadence.

Here are my times thus far:
Day 1 – 07:10
Day 2 – 05:21
Day 3 – 05:46

Even though it looks like regression, I think that Day 3 was better than Day 2.  It seemed more consistent.  And I think that will end up being more helpful in my goal of continuous double unders.  If any of you readers have any advice, please pass it on, because I’ll need all the help I can get.

Owowowowow – Injuries Are No Fun

Straight out of the gate, this is not a post about how Crossfit is the enemy of healthy bodies and joints.  If you’ve read any of my other posts, you know I’m a big fan of Crossfit.  That being said, it is not a training method without the risk of some pretty serious injuries.

I’ve been pretty active my whole life.  Not that active does not equal being in good shape.  But I grew up playing sports, and when I got to college, I did make an effort to go to the gym and run.  I’d put the motivation back then at 30% for better health, 20% to impress the ladies, and 50% guilt if I didn’t do it.  And I think that recipe for motivation stayed with me until 2009 when I hurt myself in a serious way.  

I was at the gym, doing squats (most likely with horrific form) and when I got to the bottom of the squat, by back exploded in pain.  I tried to walk it off, stretch it out, but no good.  I thought I had a back spasm, which I had experienced in the past.  Probably just take it easy for a couple weeks, and I’d be ok.  Nope!

After I gingerly walked home and showered, I sat on the couch to plan my next move.  My girlfriend (now wife) came out and when I went to get up, I was pretty sure a ninja had stabbed me in the back.  For those of you who have not experienced nerve impingement pain, I’m not sure I can adequately describe the sensation.  Maybe sort of like the getting a shot, except that needle is six inches wide, rusty, and on fire.  I literally collapsed to my knees, and for the rest of the day, transitioning from sitting to standing would require using my hands to climb up a wall while tears of pain would run down my face.  I consider my threshold for pain to be pretty high, but I couldn’t handle this.  

Turns out I had herniated two disks in my lower back (L4/L5, L5/S1 for all you medical geeks out there), and would require surgery to repair it.  Back surgery sucks.  Six weeks of being unable to lift more than ten pounds.  Next time you go grocery shopping, try loading and unloading your car ten pounds at a time.  It’ll take you halfway to forever.

Then came the physical therapy.  After so many weeks of essentially doing nothing, it was relief to start doing SOMETHING!  I did the prescribed therapy for about 10 weeks, and then I was “cleared” to go back to my normal life, as long as I didn’t go crazy.  But now every time I went to the gym, I was terrified that I might hurt myself again.  I didn’t do back squats for years.  And worse, I convinced myself that this was a good idea, that I was protecting myself.  In retrospect, it was a very poor decision.  I suffered from various lower back pain for the next few years (exacerbated by my cubicle zombie style job), and it wasn’t until 2011 that I started to get better.

I started meeting with a trainer, and he started working in heavy lifting with squats and deadlift.  I voiced my concerns, but he convinced me to give it a try.  And it made a world of difference in my back!  The pain level went down (although it has never fully disappeared) and it made me a believer in lifting not only for strength, but for health.  I’ve been told that the insane strength exhibited by NFL running backs is less about helping them gain yards then it is about keeping their bodies in one piece as they are pummeled by very large men moving very quickly.  One might look at Adrian Peterson for a prime example.  Going from a season ending knee injury to missing the single season rushing record by 8 yards in a little over a year?  Insane.  Also, he’s just a freak of nature in terms of raw athletic ability.

I still worry about my back when I lift.  And there are WODs where by back kills me afterwords (usually from lots of deadlifts and/or cleans).  But I consider that to be mostly my fault.  I get caught up in the competition, and I trade technique for speed.  Don’t trade technique for speed.  Or weight.  Or cupcakes.  It’s not worth it.  Believe me, I know.  Sidelined for a week or two because it hurts to bend over and tie my shoes.  Yeah, totally a fair trade for one more round on that AMRAP.

So this post has kind of meandered from where I thought it would go, but I’ll try to sum it up here.  Take care of your body.  Ask questions about lifts.  Make sure you have your form perfect (or at least as perfect as you can manage) before you up the weight or speed.  Swallow your stupid pride and do less than Rx until you know you can do it safely.  Coaches really don’t want you to hurt yourself.  And the other people in the gym don’t want to see it happen because they are either nice people, or they’re overly competitive assholes who would rather see the annotation that you used a lighter than Rx weight anyway.  And if you have time to work out, you have time to stretch.  Budget in an extra 5-10 minutes after your workout to stretch.  I’m paying dearly for YEARS of ignoring my flexibility, and it is a slow path back to where I want to be.

Strong is Sexy

I’ll admit, I like pump up music/videos.  Something that makes you want to get up and hit it.  Hard.  Here’s my current favorite:

I’ve been watching this a lot.  Seeing the power, skill and determination these athletes are demonstrating helps me suck it up a bit at 4:30 am when I’m rolling out of bed to go to the gym.  It doesn’t make it entirely ok to be up at that ungodly hour, let’s not be crazy, but it helps light a fire under my butt.

And watching this, I’m reminded that strong is sexy.  About 53 seconds in, you see a group of athletes heading to an event.  Those legs, those shoulders, but more than that, the SWAGGER.  These women know that they are badass.  I’m quite certain that any of them would easily kick my ass at any WOD.  And perhaps this frames me as a very shallow person, but I love seeing women with a bit of muscle.  I think it makes them look strong, confident and (to me anyway) more interesting.  These are people with passion, and who like being active.  Add to that the fact that they can help me move a couch up a flight of stairs, and you’ve got quite the appealing package.

If you can’t use cream, use butter – Butter Titration Cupcakes

I’m not dead, I’m lazy.  And busy.  But mostly lazy.

This post got started back in May when I actually made the brownies.  And by started I mean I had written the title (nailed it!).  Then I guess I just got kind of distracted and forgot about it.  But the photos I left on my desktop have been nagging me to write the rest of this post, so here goes…on to fudgey brownie goodness!

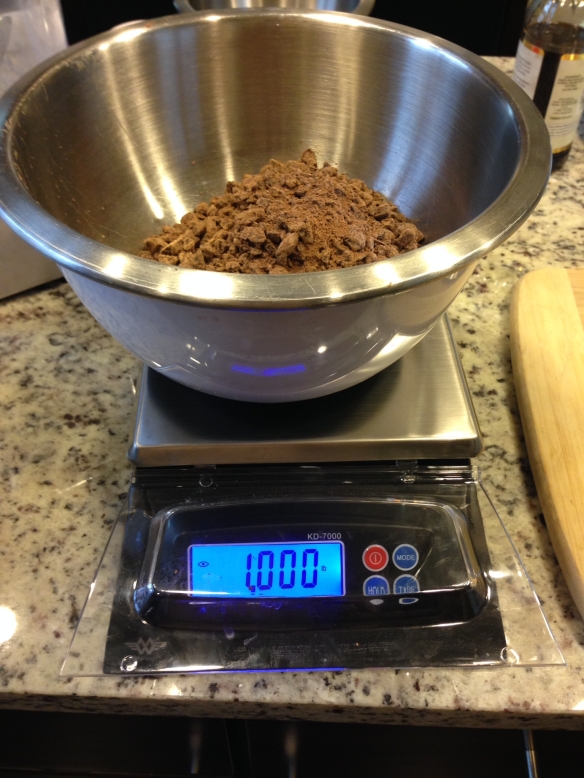
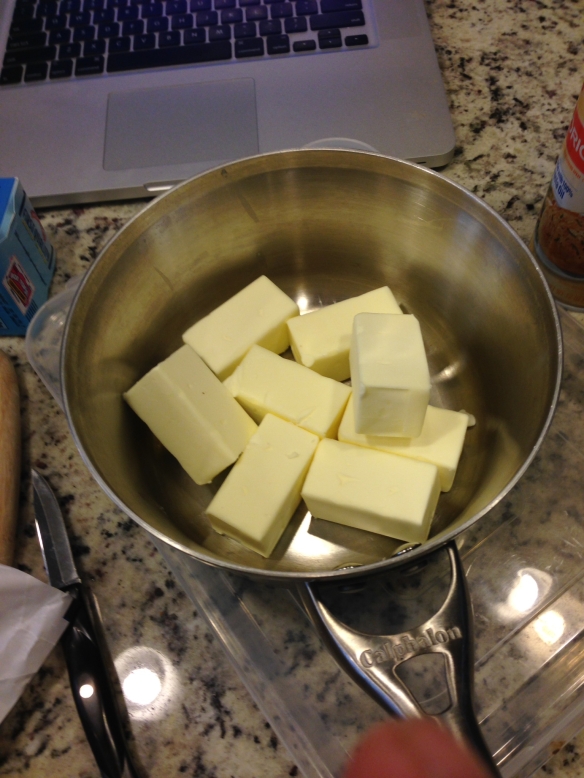
Not sure where the original recipe came from, but here’s a link.  Warning: this is not diet food.  1 POUND of chocolate and 1 POUND of butter.  The title of the recipe comes from the idea that you’re saturating the batter with as much butter as possible.   I like where this is headed.

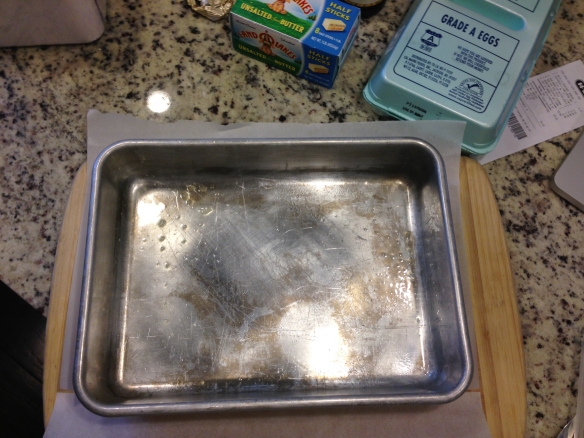
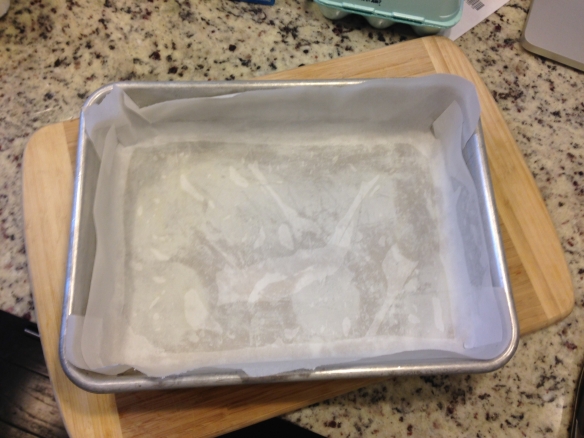
One trick I’ve learned with brownies, or really anything that you might cut while in a pan: save your pan and knives the wear and tear and line them with parchment paper.

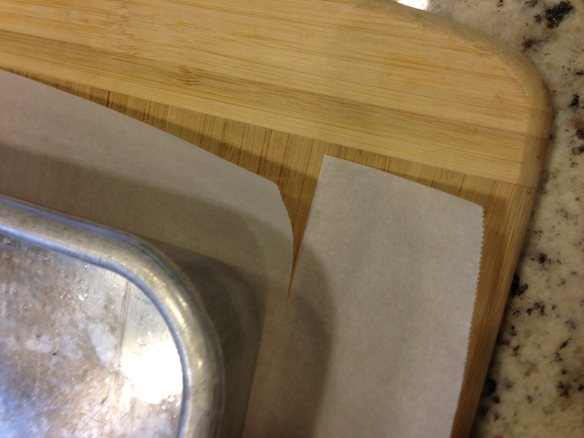
First, put your pan on top of the parchment, leaving enough room on each side to come up the sides of the pan.
IMG_0033
Second, using scissors of a sharp knife, cut the paper from the corners of the pan straight out to the edge of the paper (only one cut per corner)IMG_0032Finally, spray your pan with non-stick cooking spray, and place/fold the parchment so that you get continuous coverage around the pan.  The spray will help keep the parchment from flopping around too much.IMG_0034

Once the brownies have cooled, you can lift the whole thing out of the pan and cut it on a board.

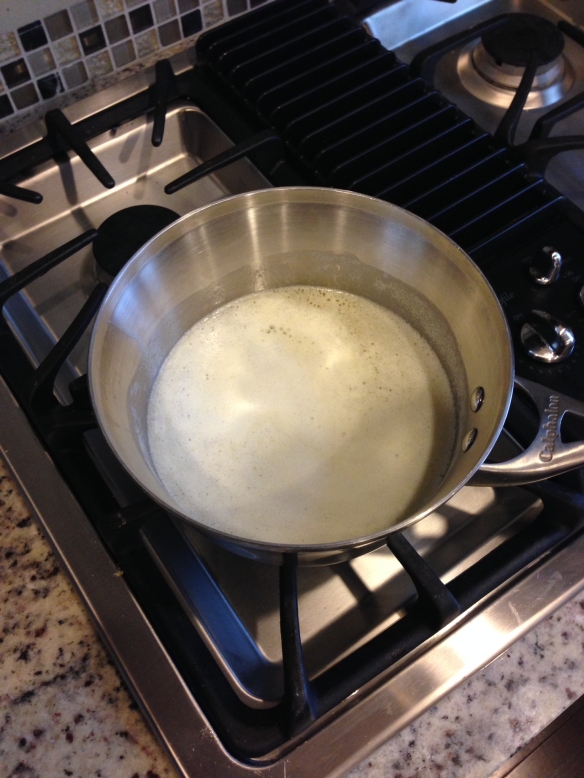
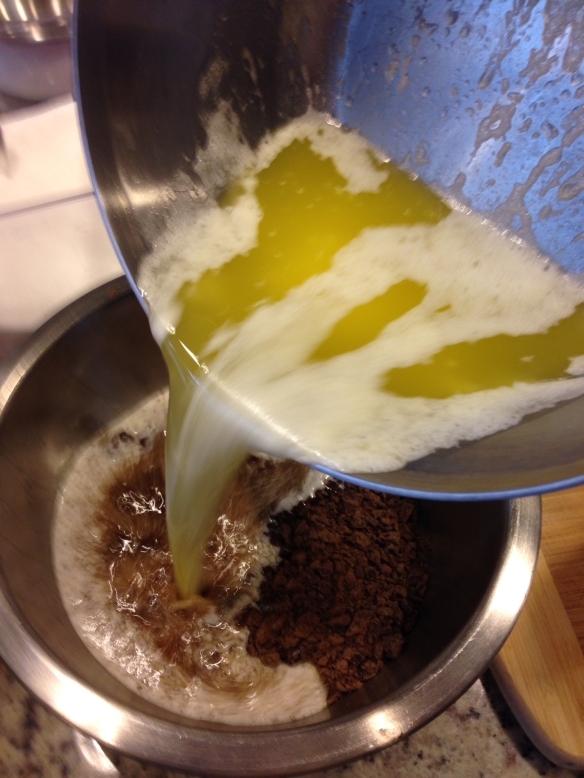
The brownies start off like a ganache, except that instead of using cream to melt the chocolate, you use melted butter.


IMG_0038IMG_0037
IMG_0040IMG_0043Like I said, not exactly diet food.

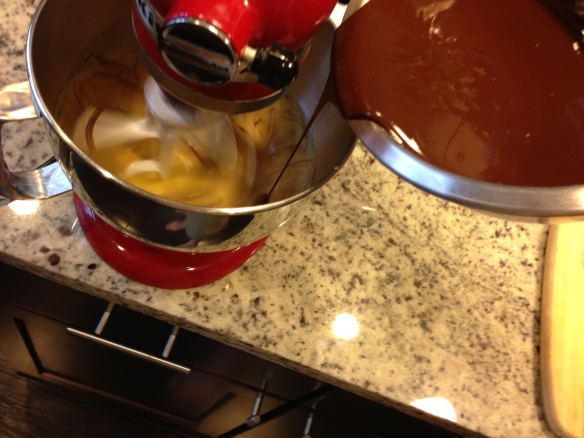
After that’s made, you mix together the wet ingredients, and then add the chocolate mixture:
IMG_0050

Then comes the Nutella and the dry ingredients:IMG_0053

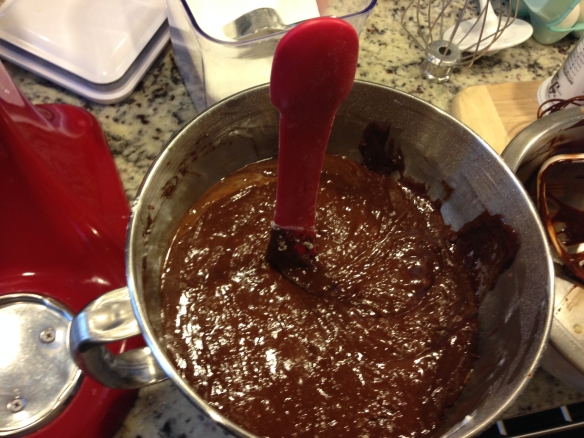
The batter gets pretty thick:IMG_0055

Then you pour and bake:

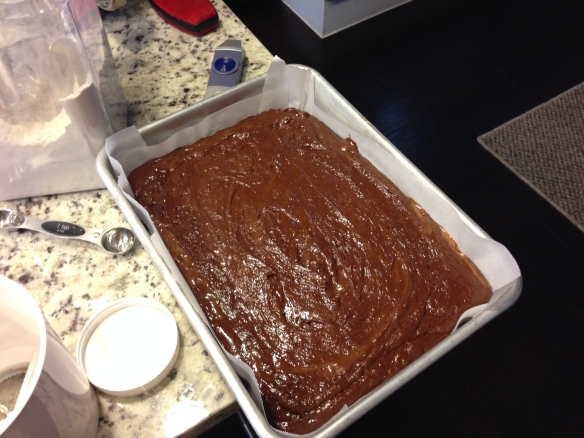
IMG_0056

I would add a picture of the finished project, but then I got distracted eating them.  As you might expect, these end up being very dense and very rich.  While I enjoyed them, for me, they weren’t good enough to take the title of “BEST BROWNIE EVER!”  But they are worth trying, if for no other reason than the spectacle of adding a pound of butter to a pound of chocolate.

Now, if you’ll excuse me, I have to go running, as I’m still burning off the calories from May!


Unconventional WODs – Because who wants to sleep in on the weekend?

So the past week has been one of those where while I wasn’t super busy at work, the week WOULD. NOT. END.  And that’s even with taking Monday off to work on the sprinkler system (the system was set up to do a particularly good job of watering the gravel, so that had to be addressed),

Anyway, I was really looking forward to the weekend.  Some time to relax and unwind.  Even have a dinner party to go to with all the other people who suffered through the paleo challenge.  However, so that we don’t feel completely guilty when we chow down on all the non-healthy goodness, there was an unofficial WOD at the park today.

MemorialParkHouston

Ladies and gentlemen, meet “Gill”:

“Gill”

  • 2 person partner workout
  • Dumbbell Run, 1 mile
  • 100 Burpees
  • Dumbbell Run, 1 mile
  • 100 Push-ups/100 Jumping Squats
  • Dumbbell Run, 1.25 miles
  • 150 Dumbbell Snatches
  • 50 AbMat Sit-ups/50 Cross Overs/50 Leg Throwdowns

Switch off carrying dumbbell, all exercises with exception of abs to be split between partners, each partner to do all ab exercises (ALL 150 reps)

Our coach Emily came up with this one, and she also assigned the weights.  Usually I really like Emily: she’s very knowledgeable, makes sure you get your form right so you don’t hurt yourself, and is impossibly cheerful when we show up bleary-eyed for the 5 am WOD during the week; but who gives you a 50 lb dumbbell to run with for over 3 miles?  We’ve done some WODs with 400 m carries of 50 lb dumbbells, but this is thirteen times as far!(Actually, 50 lbs was probably appropriate, but it’s just in my nature to complain about workouts like this one, Emily’s still ok in my book).

For those of you who have never run with weights: it’s terrible.  Even if it’s not a particularly large weight, the awkward, unbalanced nature of it makes running so much harder.  Weighted vests would be your best option, followed perhaps by a pack, but handling a 50 lb mass of metal as you trundle along is tough.  Big shout out to Dan who suffered through it with me.  We managed to maintain a jog up to the second station, but after that, we had to start throwing in some walking.  I say that without shame.  IT.  WAS.  HEAVY!  Trading off, I tried to do my shift about 1/2 run, 1/2 walk.  The most comfortable position ended up having the weight behind my neck resting on both shoulders and using my arms to keep it from bouncing around too much.  Of course, this makes your arms very tired.  And I’m still pretty sure I’m going to have massive bruises all over my shoulders tomorrow.

Totally worth it.  And we managed to tie for second place on the run!

I know that I always feel better if I do something active on the weekend; probably just as much to assuage my guilt as to keep my body loose.  But it was also just fun to get outside with friends on a beautiful morning.  There’s something to be said for this kind of qasi-masochism.  Although CrossFit does a good job of keeping the workouts fresh, sometimes it’s nice to just throw it all to the side and do something completely out there.  We’ll see if I still feel the way tomorrow morning!

Cold Brew Coffee – Part 2

Lately the weather here in Houston has just been freaking amazing.  It’s cool in the mornings, then it warms up with sunshine and a slight breeze, and most surprisingly, not much in the way of humidity (that won’t last).

However, I’m still the sort of person who tends to run hot, so I’ve started in again on the cold brew coffee.  And since my wife discovered my stash, I’ve had to start making a lot of it!
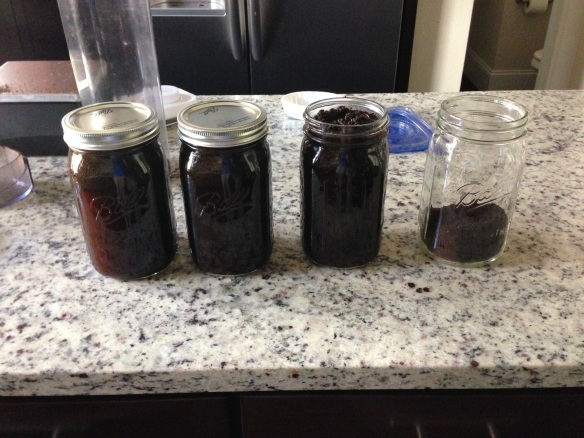
IMG_0028

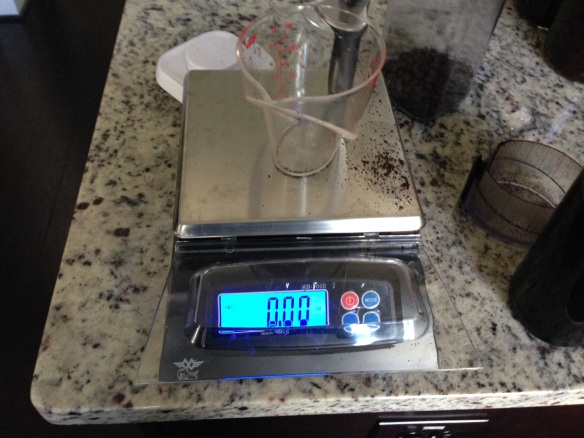
After a bit more internet research and some experimentation, I’ve modified my recipe somewhat.  Also, it helps that we have bought a scale:IMG_0029As mentioned before, I am a huge nerd, so the fact that I can now weigh out ingredients to the 100th of an ounce is just awesome.  My current ratio is now 2.5 oz to roughly 1 quart of water.  I say “roughly” because I mix this up in quart size mason jars (BTW, you should buy mason jars, you’ll end up using them for everything).  I add the ground coffee to the jar, and then fill it up, so the actual amount of water varies a little bit.

A few notes on brewing this way:

  • Don’t grind the coffee too fine.  I just use a blade style grinder and pulse it until I cannot see any full beans, and then I give it 1-2 more pulses.  I’ve considered getting a fancier burr grinder, but I just don’t know if I would be able to appreciate the difference.
  • Give it a shake.  I leave the jars out on the counter, and I try to shake them every few hours.  The coffee floats to the top, so try to keep it evenly distributed.
  • Filter twice.  I first pour the brew through a fine mesh sieve.  This catches about 95% of the ground coffee, and makes the second filtration much faster.  For the second pass, I put it through a reusable coffee filter.  This catches most of the remaining grounds, although some fine particles still make it through.
  • Mix 1:1 with water or milk.  If you’re feeling really decadent, throw in a tablespoon of sweetened condensed milk.  Make it closer to a Vietnamese coffee (which I love).

I like to mix mine up in a mason jar (see?  use them everywhere!) with ice.  You’d be surprised how fast it goes, so if it’s starting to get hot where you live, make up 2-3 batches at a time.  The concentrate seems to last pretty well in the fridge.  Bonus, on the weekends, you can spice it up with some Baileys or Kalua and really kick the morning off right.

I’ve also tried making larger batches using a fine mesh bag like this.  I’m still working on the correct ratio.  I tried the 2.5 oz per 2 quarts like with the mason jars, but then I realized I don’t actually use 2 quarts because the coffee displaces some of the volume.  I’ll probably try 3 oz of ground coffee next time.  I will say that using the bag is easier in terms of clean up, as you can skip the filtering when you remove the bag.  I’m sure this will come into its own once the temperature at 6 am is above 90 degrees.  Sooo…. next week probably.

Stay frosty my friends.